



How to Make a Wind Vane at Home? Making a weather vane at home can be a fun craft project. Here is a detailed guide to making a weather vane at home, step by step:
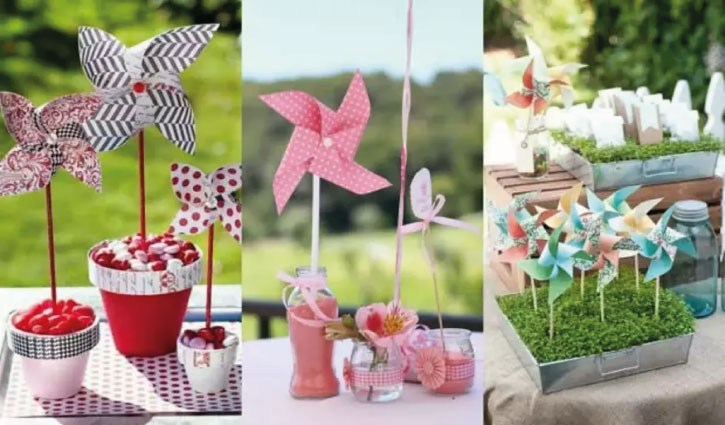
Materials:
Scissors
A thin stick or straw for the weather vane stem
- Advertisement -
Glue or adhesive tape
Colored pencils, paint or other supplies to decorate
Step 1: Prepare the Ingredients
Gather the necessary materials. By choosing colored paper or cardboard, determine the colors that will turn it into the leaves of the weather vane.
Step 2: Cutting the Wind Vane Leaves
Using colored paper of your choice, cut leaf-shaped pieces. The sizes and shapes of the leaves are entirely up to you. You can get a more interesting look by using leaves of different sizes and colors.
Step 3: Decorating the Leaves (Optional)
You can use colored pencils, paint or stickers to make the leaves more colorful and fun. Use your imagination to decorate the leaves as you wish.
Step 4: Assembling the Leaves
Assemble each leaf using glue or adhesive tape to attach it to the weather vane stem. Place leaves of different colors and sizes alternately around the stem. Try to achieve a balanced look by carefully bringing the leaves together.
Step 5: Prepare the Handle
You can use a thin stick or straw for the weather vane stem. If the material you will use is not flexible, you can bend the stem slightly to allow the weather vane to rotate with the wind.
Step 6: Tie the Leaves to the Stem
Combine the leaves you prepared around the stem. Arrange the leaves to form a neat circle. You can use glue or adhesive tape to secure the leaves.
Step 7: Optional: Hanging by Adding String
If you want to hang the weather vane, you can add a thin thread to the top. In this way, you can hang the weather vane on the window, ceiling or somewhere outside.
Step 1: Cutting the Cardboard
Choose colored cardboard or paper and cut it into a circle shape. The diameter of the circle will determine the size of the weather vane. You can use a plate or lid as a template and cut around it to create the circle.
Step 2: Dividing the Circle
Divide the circle into four equal parts. To do this, cut the circle in half diagonally, then in half vertically.
Step 3: Coloring (Optional)
You can paint or decorate each section in a different color. This step is completely optional, but can be fun to get a colorful look.
Step 4: Fold the Sections
Fold each section in half. You can use a ruler or similar to flatten the folded sections tightly.
Step 5: Stub the Circle
Make a small hole in the center of the circle. Create the stem of the weather vane by passing a thin stick or ribbon through this hole.
Step 6: Fixing the Handle
Use tape or glue to secure the stick or ribbon to the circle. Make sure the handle connects well with the circle.
Step 7: Optional: Hanging by Adding Rope
If you want to use the weather vane by hanging it, you can add a thin rope to the top. So you can hang the weather vane on the window, ceiling or somewhere outside.
You can use the weather vane to enjoy a windy day or to decorate your home. If you want, you can improve your design by adding more details and create a unique wind rose.
Click for more information!